| MultiTask Example
In this scenario, MultiTask will be used to organize a salesperson's projects. It is broken into three sections: Part I: Configuring
the Palm OS Built-in Folder Features
Part II: Creating
Project Templates
Part III: Using
MultiTask Projects
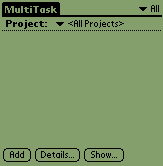
Brenda did not have any items in her Palm's To Do List, but if she did they would show up in this screen. Brenda's need for the Palm Connected Organizer relate solely to her job and she needs a filing system that will work with her MultiTask needs. From MultiTask she is able to access the Palm built-in folder system to change it to her specific needs. First, she taps on the menu in the upper right corner of the screen, currently labeled "All". The label represents the current folder set being displayed.
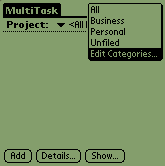
Tapping the All menu brings displays the current set of folders available.
To change this folder set, Brenda taps "Edit Categories".
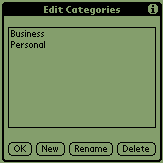
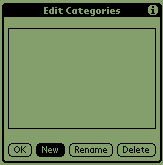
Brenda does not want the business and personal folders, so she taps on Business and selects the Delete button, then taps on Personal and selects the Delete button. This give her a clean slate.
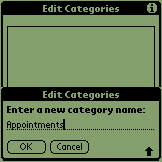
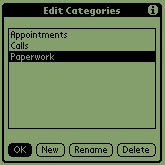
Brenda's position requires three basic kinds of "to do" tasks: Appointments, Calls, and Paperwork.
After each entry she taps the OK button, which returns her to the previous dialogue.
Once she has entered all three she tap the OK button to return to MultiTask.
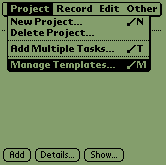
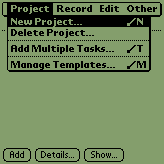
Part II: Creating Project Templates After modifying the Palm's file system to her preferences, Brenda needs to set up her projects in MultiTask. To create new project templates, she taps the silk screen Menu button and selects Manage Templates.
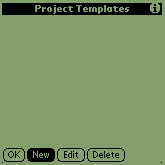
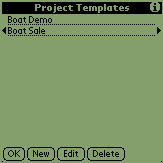
Which will take her to the Project Templates screen, from which she taps the New button to create a new template.
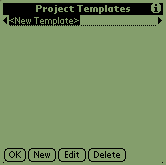
This will produce an anonymous template for editing.
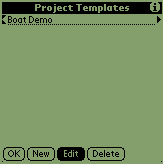
After renaming the template, Brenda taps the Edit button to start adding tasks.
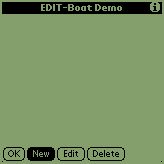
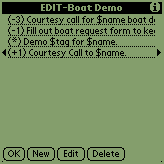
From the Template EDIT screen, she well add a series of new tasks. To add this first task she taps the New button.
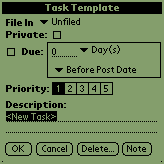
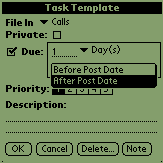
The Task Template presents Brenda with a wide array of options for describing each task in her project template.
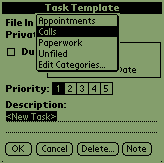
Brenda taps "File In" to select a filing location for this task, and up comes the list of folders that she modified in Part I (Show Me).
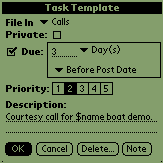
After selecting "Calls" as her file for this task, she checks the box next to Due to specify a due date and enters a description.
Notice that under the Description line Brenda used a "$" in front of "name". This will insert the name of the person as it is entered when the project template is used for a new project. After Brenda is done she taps the OK button and starts adding another task.
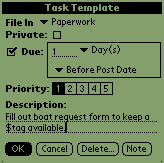
This time she uses the other substitution feature of MultiTask, "$tag" which is an option when entering a new project. She will use it as reference for the boat she is demonstrating. She taps the OK button and enters two more tasks.
The final task is due AFTER the projects due date. So she taps the popup menu that by default reads "Before Post Date" and selects "After Post Date". When she is done she taps the OK button.
Brenda's task summary appears with the each task description and the due date of each task by the number of days before and after the project's post date. She taps the OK button to return to the Project Slip where she will make the next project template.
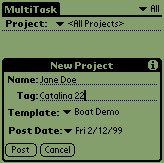
The New Project window appear for her to start editing. She enters the name of the client on the Name line, and uses the Tag line to describe the product she will be showing the her client.
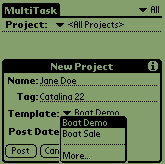
The default template will be the alphabetically first in line. To choose another template she would only need to tap the template for a popup list of all of the template she had created.
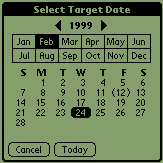
Next, Brenda taps Post Date to select the date around which the project is based. All of her tasks will come due in relation to that date.
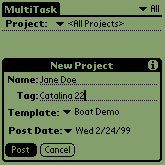
MultiTask uses the Palm Connected Organizer's built-in date picker. When Brenda taps the date it will return her to the New Project window.
To activate the project she selects the Post button.
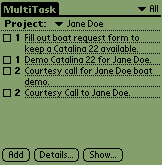
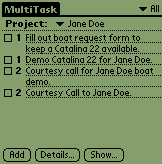
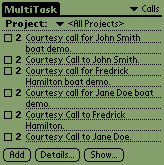
Notice that the tag and name have been inserted in certain projects. This is because she used the "$name" and "$tag" commands (Show Me).
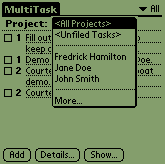
As Brenda adds more and more projects she will be able to sort her tasks them by the name of the project.
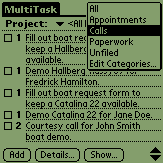
She will also be able to sort them by the Palm Connected Organizer's folder options, which she modified to personal needs in Part I (Show Me).
She could, for example, look the tasks for All Projects, but only want to look at the phone calls she needs to make.
|
<
